Sandustry Buildings Guide
From diagonal shakers to hauler drones—every machine that turns sand piles into a working factory.
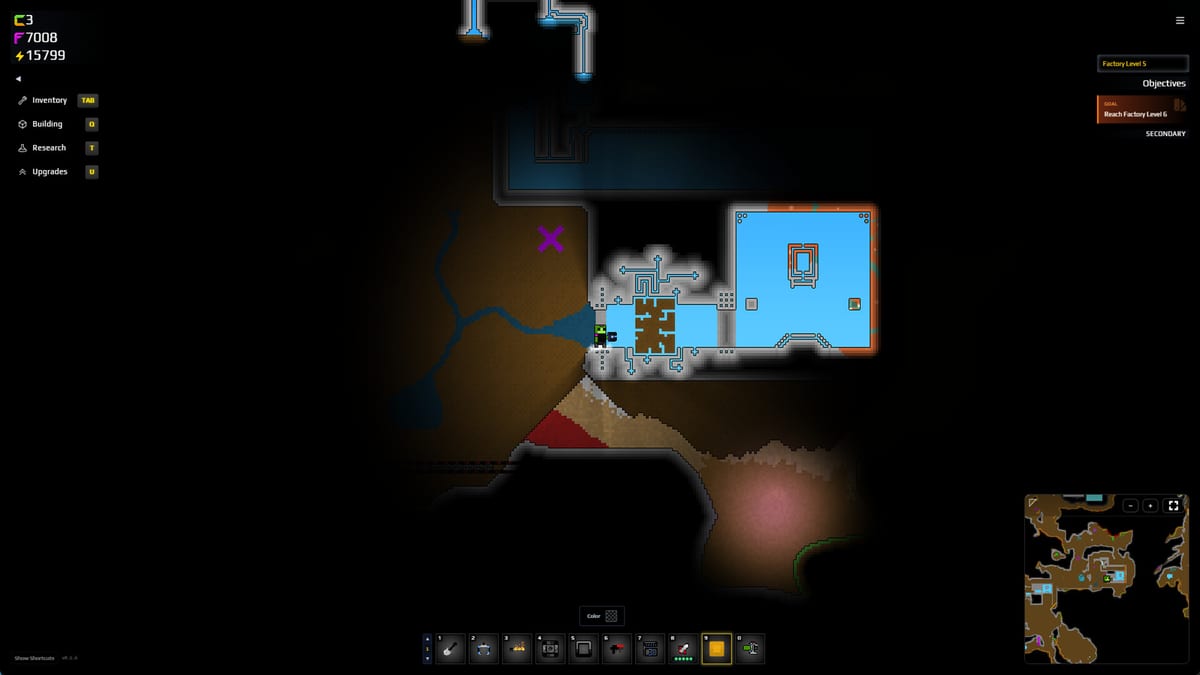
Buildings in Sandustry are how you escape manual shoveling. Once research unlocks logistics and refining tools, you assemble lines that wet sand, shake out gold, burn slag, pump water, and haul leftovers with drones. This hub covers every major building category in the demo and Early Access build, with links to focused pages for each system.
Refining buildings
The Shaker is the first machine that feels like a factory. Built on a diagonal frame, it separates Wet Sand into Gold (~twenty to twenty-five percent yield in community tests) and Slag. Feed consistency matters more than raw volume—a shaker starved for input wastes screen space, while one overloaded with dry sand produces nothing useful. Pair shakers with Conveyors and Launchers so Wet Sand arrives from your water line and both outputs route to storage or the slag burner.
Downstream, slag processing uses heat to create Burnt Slag, then a Kinetic Slag Press for Gold and Spores. Drop height, one-particle hits, and clog fixes live on that page; the factory story is Gold and Slag plus Slag Processing. Collectors under the gold drop are how Research actually increments (Collectors and Lights).
Logistics and sorting
Conveyor Belts move piles horizontally; Launchers throw materials up or across gaps. Together they bridge dig sites to processing floors without you carrying every pixel. When belts choke, the fix is usually width: wider intake or a launcher clearing a cliff edge.
Filters exploit density differences between Sand, Wet Sand, Slag, RedSand, Lava, and Gold. Community density charts place Lava between RedSand and Gold, which informs filter tier choices when mixing biomes. After Update 0.5.4 you can click the overlay label or Edit last placed instead of replacing the tile. Read Filters before you pipe random pit dumps onto one belt.
Fluids and farming
Pipes, Pumps, and Liquid Vents move water, steam, and later lava where buckets cannot. Planter boxes need Soil and steady water for Flowers that drop Amethelis (Flowers and Planters). The Pipes and Pumps page covers vent placement, head pressure tricks, and why steam backflow ruins wet-sand ratios.
Flux Emanator and botanical refining
The Flux Emanator is a single placeable building per factory. Feed Voidbloom from above; Fluxite crystals grow below the tile and must be harvested. Only Voidbloom — not raw Amethelis — feeds the emanator. Leave clearance beneath before flooring the basement; use Ctrl replace (Hotfix 8) when retrofitting funnel tiles (Flux Emanator, Demo Patches).
Drones and utilities
Digger Drones and Hauler Drones automate bulk relocation when conveyors would require heroic bridge builds. They shine in late pits where vertical distance beats belt length. Lights extend workable depth and mark hazard zones around lava or fire. See Drones and Collectors and Lights for wallet boxes plus illumination.
Planning your factory layout
A workable early layout runs: water source → wetting pool → shaker bank → gold chest plus slag burner → press line. Mid-game adds redsand filters, Flowers → Voidbloom → Flux Emanator → Fluxite harvest, and drone-fed overflow pits. Cross-read Material Ratios when balancing inputs, How to Get Gold for research pacing, How to Get Fluxite for the botanical wing, and Research Priority Tier List for unlock order.
Explore each building page
Start with Shaker if you are new, then Conveyors and Launchers once Refining 1 and Logistics 1 are unlocked. Add Filters when mixed piles appear, Pipes and Pumps when water misbehaves, Kinetic Slag Press after Refining 2, Collectors and Lights so gold counts, Flux Emanator when Voidbloom is ready, Thermal Buffer when walking the slag belt with a Flamethrower gets old, Drones when manual hauling dominates your session, and Demolisher when red blocks or a bad marquee wipe need the 256-tile 0.5.4 rule. For late-game power systems, the Smelter processes Copper Ore into Liquid Copper for Power Brick crafting. Material behavior for each input is documented on the Materials Hub. Mid-game heat and Florinol sit on How to Get Energy. Locked research after the anomaly lives on Factory Tiers. The Aura Extractor gathers ambient resources in late game — hover guidance and swarm targeting improved in Update 0.5.5 — see Aura Extractor.
Frequently Asked Questions
Quick answers to the most common Sandustry questions.
What is the first building most players automate?
The Shaker, fed with Wet Sand to produce Gold and Slag. Build a wetting line first—see Sand and Wet Sand and Shaker.
When should I unlock conveyors versus launchers?
Conveyors handle steady horizontal flow; launchers clear cliffs and gap jumps. Both are covered in Conveyors and Launchers and unlocked via Logistics research.
How do filters know what to separate?
Filters use material density. Mixed Sand, Slag, RedSand, Lava, and Gold stacks separate differently—see Filters and density notes on Material Ratios.
Do I need pipes if I only use buckets?
Buckets work early, but steam buildup and remote water sources push you toward Pipes and Pumps. Pair with Water Management strategies.
When are drones worth the investment?
When haul distance or vertical depth makes belts impractical. Compare drone throughput to belt cost in Drones before scaling a pit operation.