Sandustry Conveyors and Launchers Guide
Move Sand, Wet Sand, Slag, and Gold across pits without carrying every pixel by hand.
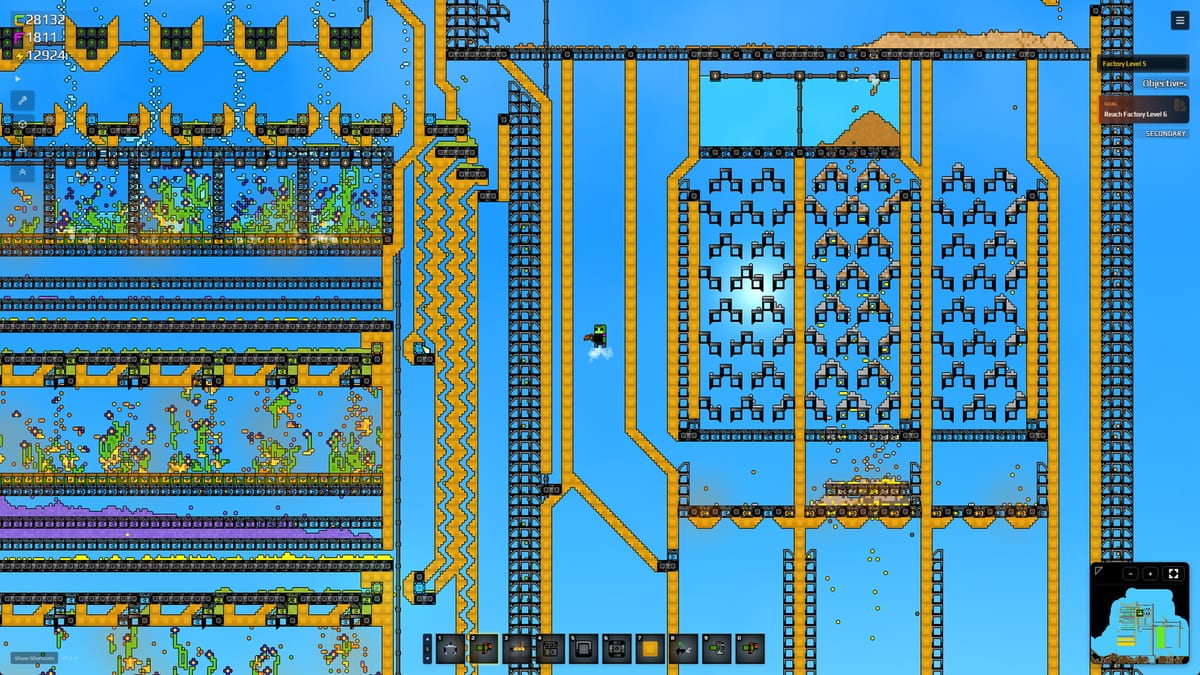
Conveyor Belts and Launchers are the logistics backbone once Refining and Logistics research unlock. Belts move piles horizontally at steady rates; launchers throw materials over gaps, up cliffs, and into elevated Shaker feeds. Without them, every extra meter of tunnel costs shovel time—and your gold-per-minute flatlines.
Conveyor belt fundamentals
Belts accept granular materials from adjacent tiles and push them directionally. They work best on flat runs with a single material type. Mixed Sand and Slag on one belt still moves, but downstream Filters must clean the mix before wetting pools or shakers see the stream.
Width and length affect throughput: long belts spread piles thin, which slows peak delivery to shakers. Short, wide intake segments—multiple parallel belts merging—keep Wet Sand density high at the shaker intake. See intake timing notes on Sand and Wet Sand.
When to use launchers
Launchers solve vertical and gap problems belts cannot: throwing Wet Sand up to an elevated processing floor, sending Slag over a lava trench, or feeding a diagonal shaker from a lower mine cart dump. Mis-aimed launchers scatter materials into Water, Ice, or Lava, triggering phase chaos (Water, Ice, and Steam).
Test launcher arcs in a sandbox pit before connecting production. One tile of backstop behind the catcher prevents overshoot losses. Pair launchers with Lights nearby so deep pits stay visible.
Feeding shakers and wetting pools
Standard early layout: belts carry dry Sand into a water pool; a second belt extracts Wet Sand from the pool’s downstream tile into a launcher or direct shaker feed. Keep sand and wet sand belts separate—cross-contamination is the top cause of idle shakers.
For gold output math, remember shakers want sustained Wet Sand, not burst sand (Material Ratios). Use belt buffers—small holding pads between pool and shaker bank—to smooth spikes when mining drones or manual digs dump extra sand.
Slag and gold routing
After shakers, run Slag belts to burners and Gold belts to a research chest. Slag belts should be wider or faster than gold belts because slag volume dominates (~75–80% of shaker output). Letting slag share a gold belt guarantees buried gold at the merge point.
If belts jam, check for Burnt Slag or Amethelis chunks mixed in from mid-game lines (Gold and Slag, RedSand and Fluxite). Heavier materials stall thin belts first.
Research and priority
Logistics 1 typically unlocks basic belts before launchers. The Research Priority Tier List ranks logistics immediately after Refining 1 so shaker output moves automatically. Delaying belts while building a third shaker is a common trap—fix movement before scaling refining.
Blueprint tips for demo layouts
Mirror left and right shaker feeds with equal belt length so both units receive the same Wet Sand rate. When expanding horizontally, leave one tile between parallel belts for maintenance access—tight spacing looks efficient until slag jams and you cannot reach the merge tile without dismantling half the line.
Underground belts through sand layers risk cave-ins from digger drones (Drones). Either roof tunnels with cheap blocks or run belts on the surface with launchers down into pits. Surface routes also make it easier to spot Fire spreading from slag burners placed too close.
Merge points and jam prevention
Every belt merge is a future clog point. Merge Slag lanes before Gold lanes, never the reverse. If two shaker outputs join, widen the downstream segment or add a short buffer pad so simultaneous slag dumps do not stack on one tile. Launcher catchers need a backstop tile—without it, overshoot into Water or Lava changes material ratios silently. When upgrading from manual haul to belts, delete old drop chutes so stray sand does not fall into merged lanes from above.
Cross-read How to Get Gold for blueprint order and Buildings Hub for pipes and drones that complement belts.
Frequently Asked Questions
Quick answers to the most common Sandustry questions.
Conveyor or Launcher first?
Unlock belts first for horizontal wet sand and slag routes. Add launchers when you need height or gap crossings—see placement sections above.
Why is my belt not feeding the Shaker?
Check pile height at intake, dry vs wet sand mix, and diagonal feed angle on Shaker. Empty pools starve belts silently.
How wide should slag belts be?
Slag volume is ~75–80% of shaker output. Give slag lines equal or greater capacity than gold lines to prevent output tile clogs.
Can launchers throw into water safely?
Only if you intend wetting. Overshoot into open lakes loses sand and skews ratios—see Water Management.
What connects after basic conveyors?
Add Filters for mixed piles, Pipes and Pumps for water, and Drones for long hauls.